

Mastering personal survivability in World of Warcraft is a distinct mechanical progression path that operates independently of your damage or healing output. In high-tier content, deaths are rarely caused by a single hit, but rather by the “stacking” of multiple damage sources that overwhelm your baseline health. For players aiming to reduce their “death-per-raid” metric and perform with more composure under pressure, developing the Two Defensive Rule forms a reliable framework for mastery. It is about understanding that survival is a resource-management game.
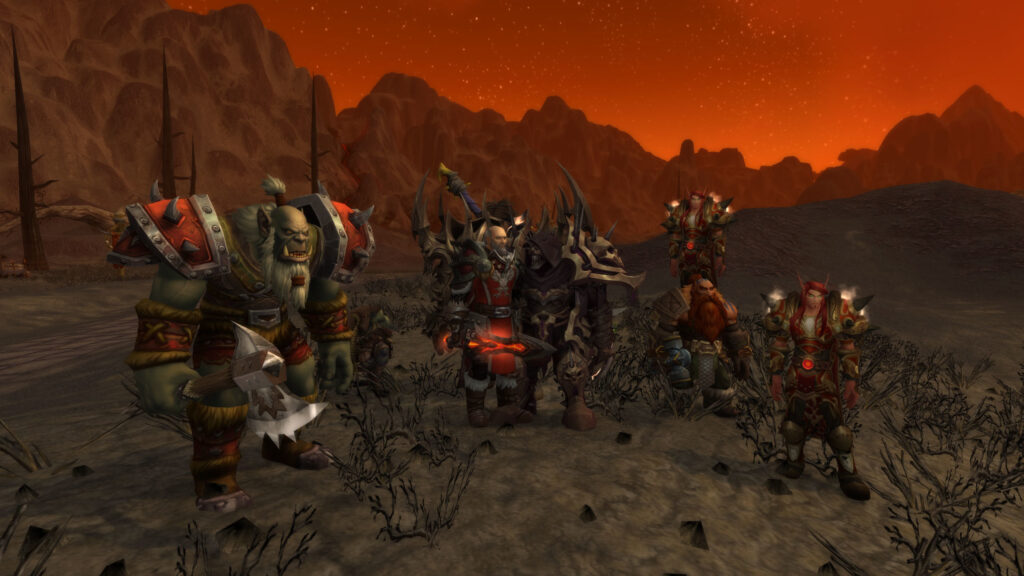
This guide examines how to approach defensive usage efficiently, focusing on the logic of “Overlap Prevention,” the mechanics of damage-typing, and the strategic importance of saving your “Big Button” for moments where your passive defenses are already exhausted.
The Logic of Defensive Overlap
A common error in high-stress moments is “Panic Stacking”—using every defensive cooldown simultaneously the moment your health drops. This is a deterministic waste of resources: if a boss mechanic deals 60% of your health, using both a 30% reduction and a 50% reduction at once leaves you with zero protection for the next mechanic ten seconds later. The Two Defensive Rule dictates that you should never have more than two defensive layers active at once, including your passive shields or healer externals. This ensures you always have a “Safety Net” ready for the next spike.
Core Tactics: Categorizing Minor and Major Cooldowns

To implement this rule effectively, you must categorize your toolkit into two distinct “Draw Windows”:
- Tier 1 (Rotational Defensives): These are short-cooldown abilities like Barkskin, Feint, or Shield Block. You should use one of these for every predictable “Moderate” hit. They are your first layer of the Two Defensive Rule and should be active almost every time a boss casts a named ability.
- Tier 2 (Emergency Buttons): These are long-cooldown, high-impact abilities like Ice Block, Aspect of the Turtle, or Divine Shield. These are only added to a Tier 1 defensive if the incoming damage is “Lethal”—meaning it would kill you even with Tier 1 active.
- The “Healer-Reliance” Check: Before pressing your second button, check if a healer has already placed a barrier or an external on you. If they have, the healer’s buff counts as your second layer. Adding yours on top is redundant and reduces your total survivability for the encounter.
Managing “Predictive” vs. “Reactive” Usage
The Two Defensive Rule is most effective when used predictively. You must learn the boss’s “Cast Cycle.” If you wait until you are at 10% health to press your defensive, you have already failed; the goal is to have the damage reduction active *before* the hit lands. A successful raider treats defensives as part of their rotation. By pre-mitigating damage, you prevent the “Health-Ping-Pong” that causes healers to panic and waste their own cooldowns. Mastery of this timing transforms you from a “vulnerable asset” into a “tanky DPS,” which is the highest compliment a raid leader can give.
Establishing the “Health-Gate” Routine

The final phase of survivability mastery is the “Health-Gate.” Identify the specific percentage of health (e.g., 40%) where you automatically commit your second defensive if no healer-buff is present. This removes the “decision-time” during chaos. You stop thinking and start executing. Integrating this disciplined approach to your cooldowns ensures that you are always the last one standing during a messy pull. You become a stable variable in the raid’s success, providing a steady path to victory through superior resource-management of your own life.
Conclusion: Composure through Resource Discipline
The Two Defensive Rule rewards the calm and the analytical player. By preventing cooldown overlap and mastering predictive timing, you maximize your total time alive. Integrating these survival habits into your routine ensures that you remain a dependable pillar of your group, providing a stable path to high-level success through superior defensive management.